


In today's cloud world, security and access management are of paramount importance. One component of security are the secret keys used in Microsoft Entra ID App Registrations. These secrets have a limited validity period and must be renewed before expiration to avoid interruptions in access. In this article, we will present a practical approach that allows you to receive an automatic notification before your secrets expire by using Azure Logic Apps.
Expiring secrets are a problem for security and operational reasons, especially in a cloud computing environment like Microsoft Azure. Overall, expiring secrets can lead to significant security risks, operational disruptions and a high administrative burden. It is therefore important to take a proactive approach to managing and monitoring these to avoid any issues and create a reliable and secure environment.
This can be implemented, for example, through automated notification before a secret expires.
5 reasons why expiring secrets can be problematic
Security gaps
Secrets are confidential information that serve to protect against unauthorized access to resources. They are comparable to passwords, keys and other access data. A secret should never appear in an unsecured file or code snippet, as this drastically increases the risk of unauthorized access to sensitive data by third parties. For this reason, it is important to roll over secrets regularly and control access to them.
Loss of access
Authentication with an expired secret is not possible. This can result in applications or users no longer being able to access resources intended for them. In the worst-case scenario, this can lead to a total failure of a mission-critical application.
Lack of transparency
Transparency about the secrets in use, their usage and expiration date is essential for stable and smooth business operations. Without such transparency, applications may fail or data may be stolen.
Maintenance effort
Manual management of secrets requires recurring checks and permanent documentation. This is time-consuming and reduces the efficiency of the IT team, which could devote the same time to other meaningful issues.
Regulatory requirements
Depending on the industry and geographic location, organizations are subject to various regulatory requirements regarding the security and management of access data. Failure to comply with these regulations can have legal consequences.
Video Tutorial: monitor expiring Azure App Registration Secrets
Step-by-step guide
Creating the resource group
First of all, a new resource group is created. This allows you to create and manage the resources used in a central location:
- Log in to the Azure portal and navigate to the start page.
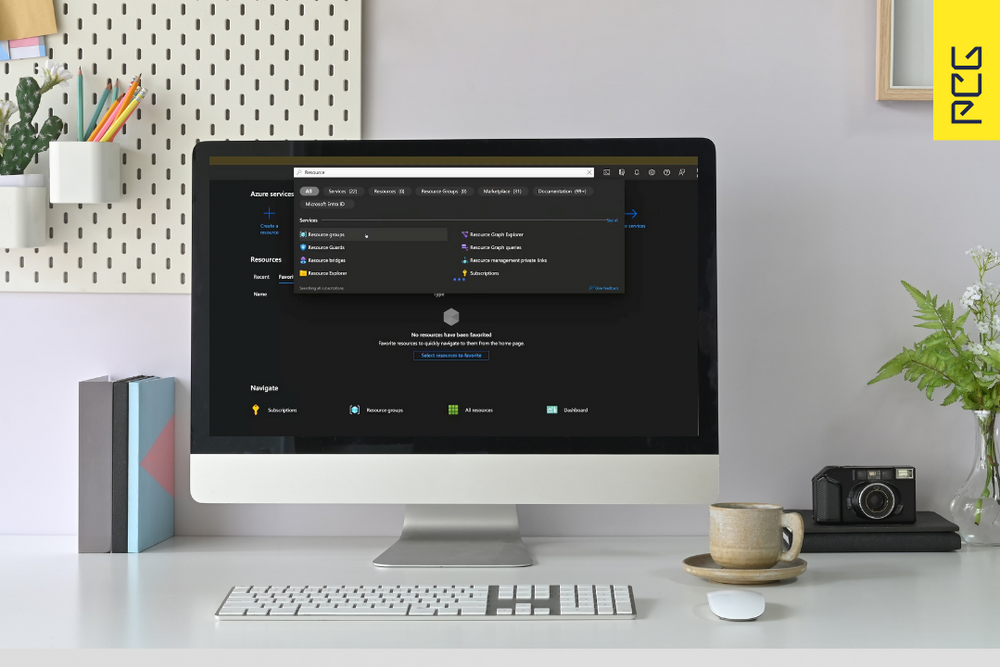
- Search for "Resource groups" in the search bar and click on the "Resource groups" service listed there
- Click on "Create" on the left-hand side to create a new resource group
- Specify project details:
- Subscription: select the desired subscription from the drop-down list.
- Resource group: Enter a meaningful name for your resource group, for example appsecret-check-rg.
- Region: Select the region in which the resources are to be provided.
- Click on "Check + create" to have the information entered checked.
Checking the necessary requirements
For an alert to be sent in the form of an email when a secret expires, the receiving user must be activated and the stored email address must be available. This can be checked using Entra ID, for example:
- Open the Microsoft Entra ID service in the Azure portal
- Switch to the "Users" menu under "Manage"
- Select the target user and then select "Edit properties" to obtain further information.
- Check the Account status and Email address parameters in this menu. The account status should be set to "Active" and an existing email address should be stored.
Provision of the template
Use the search bar in the Azure portal to search for "Deploy from a custom template" and open the service found.
Select the option "Deploy a custom template, which means that the template already created only needs to be imported and adapted to your own data. This makes deployment much easier.
Paste the entire content of the JSON template into the template editor and have it checked for syntactical correctness using the "Save" button.
If adjustments to the template are necessary, these can be made using the "Edit template" button. For example, the name of the resource group should be adjusted here.
Make sure that you have checked the resource configuration in the template and that it meets your requirements. Then continue with "Review + create".
Click on the "Create" button to start the deployment.
Authorizing the API connection
Every connection between a Logic app and a SaaS service, such as the Azure Key Vault, takes place via an API connection. This was created using the previously provided template, but must be authorized in a separate step. This is done as follows:
- Open the resource group, for example by searching for its name in the central search bar of the Azure portal. The overview of the resource group opens, in which the API Connection is listed as a resource.
- Open the API Connection that contains the name of the Logic App you have just created with the template. In this example, it is "office365-AppRegistrationClientSecretNotification".
- Now switch to the menu for editing the API Connection by switching to "Edit API Connection" in the "General" section.
- Authorize the API connection by clicking on the "Authorize" button and then confirm with "Save".
Extracting the object (principal) ID of the Logic app
Logic apps use managed identities to gain access to resources that are protected by the Entra ID (formerly Azure Active Directory). In this step, we export the object (principal) ID, which is required next for the actual assignment of rights:
- Open the resource group, for example by searching for its name in the central search bar of the Azure portal. The overview of the resource group opens, in which the Logic App is listed as a resource alongside the API Connection.
- Now click on the name of the Logic App created with the help of the template to open it.
- In the Logic App overview, you will later see information about the executions, triggers and statistics themselves. Logically, these are currently still empty. Now open the "Identity" menu in the "Settings" section.
- A distinction is made between system assigned and user assigned identities. In this example, a system assigned identity is used. Through attaching the managed identity to the resource it is automatically deleted with it. This minimizes the risk of dangling credentials which could lead to potential security issues. To do this, set the status to "On" and then make a note of the object (principal) ID. This is required in the next step.
Assigning authorizations in the Entra ID using PowerShell
There are several ways to assign authorizations in Entra ID. For example, this can be done via ARM templates, directly via the Azure portal or PowerShell.
Extract tenant ID
The tenant ID is required to perform a login using PowerShell in the context of the tenant and then to be able to execute further commands. You can find this in the Entra ID overview page in the Azure portal:
- Open the Azure portal and go to the Entra ID overview.
- The Tenant ID can be found on the overview page, make a note of it.
Establishing the connection
- Open the PowerShell Integrated Scripting Environment (ISE) on your computer by entering "PowerShell ISE" in the Windows search bar and selecting the application from the search results.
- Copy the following code and paste it into the PowerShell ISE, replacing the <tenant ID> with your own. Then execute the script with "F5" or the "Execute" button.

Explanation
The connect-azuread -TenantId <Tenant ID> command establishes a connection to the Entra ID using the specified Tenant ID. This makes it possible to execute PowerShell commands in the context of this specific tenant.
Preparation of the Object ID
The Object ID of the Graph App and the role to be assigned are required to assign the authorization. This data is collected in this step.
The Graph App can also be found under the application ID "00000003-0000-0000-c000-000000000000" or the name "GraphAggregatorService". The role can be found in the list of AppRoles of the Graph App.
Extract the Object ID and the Group Read Permission with the following command:
Explanation
These commands retrieve information about the Azure AD service principal of the Graph App and export the app role "Application.Read.All".
Reading the object (principal) ID of the Logic App
We have already extracted the object (principal) ID of the Logic App. Now read the service principal of the object (principal) ID of the Logic app into the variable "msi":
Explanation
This command retrieves information about an Azure AD service principal using its object ID, which was previously inserted into the code. The information is then assigned to the $msi variable to make it available for later use in the script.
Assigning authorizations
All the necessary information for assigning the "Application.Read.All" role to the Logic app is now available. Assign the authorization with the following command:
Explanation
A role is assigned using a cmdlet, which is given the following information:
- Id $groupReadPermission.Id: ID of the app role "Application.Read.All"
- ObjectId $msi.ObjectId: Object ID of the service principal of the Logic app
- PrincipalId $msi.ObjectId: Principal ID of the service principal of the Logic app
- ResourceId $graph.ObjectId: Object ID of the service principal of the Graph App
This command assigns the selected app role to a specific service principal, which enables certain authorizations and access areas within the Azure AD system.
The PowerShell script
The PowerShell script that has been created over the various steps looks like this. You can use it after replacing the two variables "tenantid" and "objectprincipalid" with their data.
Running the Logic app
- Open the Azure portal and go to the Logic Apps overview
- Select the Logic app you have created there and start it by clicking on "Run Trigger"